Planning a birthday party on a budget doesn’t mean settling for lackluster decorations. The most memorable celebrations often come from creative touches that show thoughtfulness rather than expensive store-bought items. With some basic supplies and a bit of imagination, you can transform any space into a festive wonderland that guests will talk about long after the cake is gone.
The secret to impressive party decorations lies in focusing on visual impact rather than quantity or cost. A single dramatic focal point can create more atmosphere than dozens of scattered decorations. Smart placement, color coordination, and attention to lighting can make even the simplest materials look stunning. Whether you’re decorating for a child’s party or an adult celebration, these budget-friendly ideas work for any age group and can be adapted to match any theme or color scheme.
The following sections will walk you through eight decoration categories that deliver maximum wow factor without draining your wallet. From paper crafts that add dimension to natural elements that cost nothing, you’ll discover how ordinary materials can create extraordinary party spaces. Each idea can be customized to your specific needs, scaled up or down depending on your space, and completed even if you’re not particularly crafty. Let’s turn that plain room into a party paradise that looks like you spent a fortune.
Paper Magic: Creating Visual Impact with Simple Materials
A few dollars’ worth of paper can completely transform your party space when you know the right techniques. Paper decorations offer endless possibilities for customization, and they’re lightweight enough to hang anywhere without damaging walls or ceilings. The best part about working with paper is that mistakes cost almost nothing to fix – just grab another sheet and try again.
Paper Flower Walls and Backdrops
Giant paper flowers create stunning photo opportunities that guests will love. You can craft these beauties from tissue paper, crepe paper, or even coffee filters for a fraction of what real flowers would cost. Start with larger blooms as focal points, then fill in gaps with smaller flowers for a lush, dimensional look.
The process requires only scissors, glue or tape, and patience. Cut circular shapes in graduated sizes, layer them from largest to smallest, and gently separate the layers to create fullness. Coffee filters work particularly well because they already have a delicate, petal-like texture. Dip the edges in diluted food coloring for an ombre effect that looks professionally done.
Position your flower wall behind the cake table or gift area for maximum impact. Attach flowers directly to the wall using removable adhesive strips, or create a portable backdrop by attaching them to a large piece of cardboard or fabric that you can hang with minimal effort.
DIY Paper Lanterns and Pom-Poms
Paper lanterns add depth and movement to your party space while costing just pennies to make. Regular copy paper, tissue paper, or even old book pages can become charming lanterns with a few strategic folds and cuts. The accordion-fold technique creates beautiful honeycomb patterns when the lantern opens.
Tissue paper pom-poms have become party staples for good reason – they’re incredibly easy to make and look far more expensive than they are. Stack 8-10 sheets of tissue paper, accordion-fold the entire stack, secure the middle with wire or string, then carefully separate each layer. Vary the sizes and colors to create visual interest throughout your space.
Origami Garlands and Chains
Simple origami shapes strung together make sophisticated garlands that elevate any party space. Even basic shapes like cranes, stars, or butterflies look impressive when multiplied and displayed en masse. Use patterned scrapbook paper or pages from old magazines for added visual texture without extra cost.
Paper chains might sound elementary, but modern versions using metallic paper, varied widths, or intricate cutting patterns look anything but childish. Try creating chains with scalloped edges, or alternate colors in patterns that match your party theme.
Paper Bag Luminaries
Brown paper lunch bags become magical lighting elements with just a few cuts and a battery-operated tea light inside. Cut designs into the bags using craft knives or hole punches – stars, hearts, or geometric patterns all work beautifully. Weight the bottom with a bit of sand or rice to keep them stable.
Line walkways, stairs, or table edges with these luminaries for a warm glow that costs almost nothing. White paper bags create a softer light, while colored bags add festive flair. For safety, always use LED candles rather than real flames, especially if children will be present.
Balloon Artistry Without Breaking the Bank

Balloons remain one of the most affordable ways to fill a space with color and joy, but moving beyond basic bunches takes them from predictable to spectacular. With strategic placement and creative arrangements, a single bag of balloons can create multiple decoration zones throughout your party area.
Creative Balloon Arrangements Beyond Basic Bunches
Instead of random clusters, think about balloon placement as you would flower arrangements. Create balloon bouquets using odd numbers for visual appeal – groups of three, five, or seven look more intentional than even numbers. Mix different sizes within the same color family for sophisticated depth.
Balloon columns flanking doorways or the food table add vertical drama without requiring helium. Simply tape inflated balloons to a ribbon or fishing line stretched from floor to ceiling. Alternate colors or create an ombre effect by gradually transitioning from dark to light shades.
For table decorations, skip the helium entirely. Place inflated balloons under sheer fabric table runners for a floating cloud effect. Or create balloon flowers by attaching five same-colored balloons around one contrasting center balloon, then secure to weighted bases made from small jars filled with candy or colored sand.
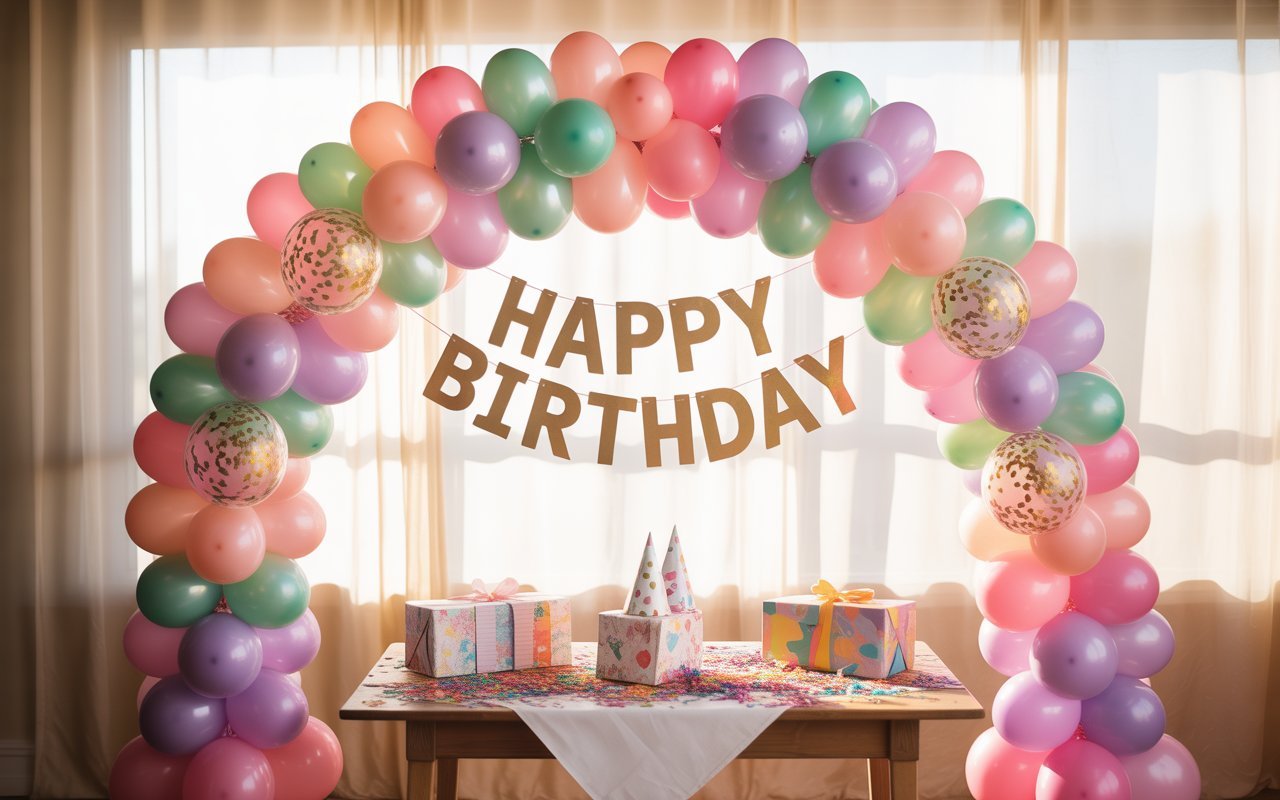
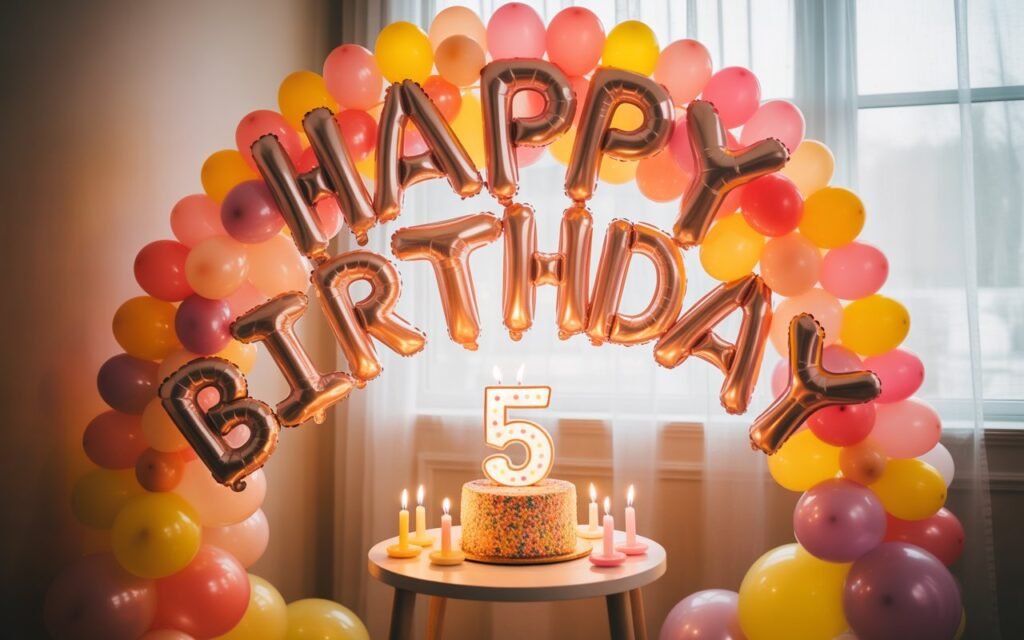
Balloon Photo Backdrops
A balloon wall makes an incredible photo backdrop that guests will queue up to use. Create a grid pattern by taping balloons directly to a wall, or attach them to a large piece of fabric or plastic sheeting that you can hang and remove easily. Mix sizes and shades within your color scheme for a professional look.
The trick to a stunning balloon backdrop lies in the density – pack balloons tightly together so no gaps show. Start from one corner and work systematically across to maintain even spacing. Add metallic or confetti-filled balloons as accents to catch the light.
Floating Balloon Ceilings
Nothing transforms a room quite like balloons covering the entire ceiling. If helium isn’t in your budget, use static electricity to your advantage. Rub latex balloons on carpet or fabric to create static, then stick them directly to the ceiling. They’ll stay put for hours, creating a magical canopy effect.
For longer parties or humid conditions, use small pieces of double-sided tape on balloon tops for extra security. Attach curled ribbons to some balloons, letting them dangle at different lengths for added movement and dimension. This technique works particularly well over dance floors or dining areas.
Balloon Centerpieces with Personality
Table centerpieces don’t need expensive flowers when balloons can do the job creatively. Fill clear balloons with confetti, glitter, or small candies before inflating for built-in decoration. Attach three or four to wooden dowels or decorative straws at varying heights, then anchor in mason jars filled with colored beans or wrapped candies.
Consider these creative centerpiece variations:
- Mini Hot Air Balloons: Attach small paper cups or cupcake liners to balloon bottoms with ribbon “ropes”
- Balloon Topiaries: Cluster small balloons around a styrofoam ball, attach to a painted stick “trunk”
- Character Faces: Draw features on balloons to match your theme – animals, emojis, or cartoon characters
- Message Balloons: Write party messages or guest names with permanent markers for personalized touches
Lighting That Transforms Any Space
The right lighting can make even the simplest decorations look magical. Strategic use of affordable lighting options creates ambiance that expensive decorations alone could never achieve. Layer different light sources for depth and warmth that makes any space feel special.
String Lights for Magical Atmosphere
White string lights aren’t just for holidays anymore. Drape them across ceilings in swooping patterns, wrap them around poles or banisters, or bunch them in glass vases for instant centerpieces. The soft glow they provide flatters everyone and everything.
Get creative with how you display string lights. Create a canopy effect by running strings from a central ceiling point to the room’s corners. Spell out the birthday person’s age or initials on a wall. Wind them through balloon arrangements or paper decorations for an ethereal glow. Battery-operated versions eliminate the need for nearby outlets.
Mason Jar Lanterns
Transform ordinary mason jars into charming lanterns with just wire and battery-operated fairy lights. Wrap wire around jar rims to create handles for hanging, then fill jars with light strings for a firefly effect. Colored tissue paper wrapped around jars creates soft, tinted lighting.
Paint jar exteriors with translucent glass paint for colored effects without buying expensive colored bulbs. Create patterns using painter’s tape before painting, then remove tape for geometric designs. Hang jars at different heights from tree branches for outdoor parties, or line them along staircases and mantels indoors.
Candles and Safety Alternatives
Real candles create unmatched ambiance, but LED alternatives have become so realistic that guests won’t know the difference. Cluster battery-operated candles of varying heights on mirrors or metallic trays to multiply their glow. Place them inside paper bags, glass hurricanes, or carved-out citrus fruits for unique displays.
For real candles, ensure safety by placing them in deep glass containers where flames can’t reach decorations or curious hands. Float tea lights in bowls of water with flower petals or food coloring for beautiful, safe displays. Citronella candles serve double duty at outdoor parties by providing light while keeping bugs away.
Colored Bulbs for Instant Mood
Simply changing regular bulbs to colored ones instantly transforms a space’s entire mood. Soft pink or amber bulbs create warmth and intimacy, while blue or purple adds drama and excitement. This one change costs just a few dollars but impacts the entire room.
Use colored bulbs strategically rather than everywhere. Replace bulbs in key areas like above the food table, in the entryway, or around the dance floor. Mix colored and white lights for balance – too much colored lighting can overwhelm. Smart bulbs that change colors via phone apps offer endless possibilities if your budget allows for one or two.
Natural Elements as Free Decoration
Nature provides countless decoration opportunities that cost absolutely nothing. Seasonal materials from your yard or local park can create stunning displays that bring organic beauty to your celebration. These elements add texture and authenticity that manufactured decorations can’t match.
Bringing the Outdoors Inside
Branches, leaves, and flowers from your garden make incredible free decorations. Spray paint branches gold, silver, or white for elegant centerpieces. Arrange them in tall vases or lean them against walls for dramatic height. During fall, colorful leaves scattered on tables or strung into garlands cost nothing but time.
Large leaves like monstera or palm fronds can serve as placemats or wall decorations. Press flowers between book pages days before the party, then arrange them under glass plates or frame them for instant art. Pine cones, acorns, and seed pods spray-painted in metallic colors become sophisticated table scatter.
Seasonal Branches and Greenery
Different seasons offer different natural decoration opportunities. Spring brings flowering branches that look stunning in simple arrangements. Summer offers lush greenery and wildflowers. Fall provides colorful leaves and interesting seed heads. Winter has evergreen branches and interesting bare twigs.
Cut branches just before your party for maximum freshness. Stand them in buckets of water if cutting them earlier. Remove lower leaves to prevent wilting and to create cleaner lines. Mix different textures – smooth bark with rough, thick branches with delicate twigs – for visual interest.
Rock and Shell Arrangements
Smooth river rocks or collected shells make beautiful, free decoration elements. Arrange them in clear glass containers, scatter them on tables, or use them to anchor balloon ribbons. Write party messages or guest names on flat rocks with paint pens for unique place cards or party favors.
Stack flat rocks to create cairns as centerpieces or pathway markers. Fill clear vases with layers of different-colored sand or small pebbles for textured displays. Shells strung on fishing line create delicate garlands perfect for beach-themed celebrations. Even ordinary gravel from your driveway looks elegant in glass hurricanes with candles nested on top.
Fresh Flower Alternatives
When fresh flowers strain the budget, creative alternatives using natural materials can be just as beautiful. Potted herbs from the grocery store cost less than cut flowers and guests can take them home. Arrange supermarket vegetables and fruits in unexpected ways – artichokes, cabbages, and citrus fruits make striking centerpieces.
Cut branches from flowering bushes or trees in your neighborhood (with permission) for dramatic arrangements that would cost a fortune from a florist. Even “weeds” like Queen Anne’s lace or wild grasses look sophisticated in the right container. Float single blooms in bowls of water rather than creating entire bouquets. A single flower at each place setting makes more impact than one large arrangement everyone ignores.
DIY Photo Displays and Memory Walls
Personal photos transform generic party spaces into meaningful celebrations of life and relationships. These displays cost very little but create emotional connections that expensive decorations never could. Guests love seeing themselves and shared memories celebrated creatively.
Creative Ways to Showcase Memories
Move beyond basic photo collages by thinking three-dimensionally about photo displays. Hang photos from tree branches arranged in vases for an artistic family tree. Clip photos to a ladder leaning against a wall for a vintage display that doesn’t damage walls.
Create photo mobiles using embroidery hoops and fishing line. Attach photos at different heights so they spin gently and catch light. This works particularly well with photos from different life stages, creating a floating timeline of memories.
String wire or ribbon between two points and use miniature clothespins to create photo clotheslines. Weave these lines back and forth across a corner for a dense display, or run single lines along walls at different heights. Mix in paper decorations or small lights between photos for added visual interest.
Photo Garlands and Timelines
Transform photos into garlands by attaching them to ribbon or string at regular intervals. Create timeline garlands showing the birthday person’s growth from baby to present. For milestone birthdays, dedicate each strand to a different decade.
Cut photos into shapes like hearts, stars, or circles for unified garlands that look intentional rather than random. Black and white photocopies of original photos create sophisticated displays while preserving originals. Back photos with colorful cardstock for sturdiness and visual pop.
Polaroid Stations
Set up an instant photo station where guests can take pictures and immediately add them to the party display. Provide markers for guests to write messages on the white borders. String up empty ribbons or wires where new photos can be added throughout the party.
Create a structured display by drawing or taping a large number matching the birthday age on a wall, then fill it in with Polaroids as the party progresses. Or provide a large frame where guests can arrange their photos however they choose. These interactive displays become both entertainment and decoration.
Memory Jar Displays
Glass jars filled with memory prompts or photo strips create interactive centerpieces. Before the party, ask guests to send favorite memories with the birthday person. Print these on decorative paper, roll them up, and fill jars for guests to read throughout the celebration.
Layer different elements in clear jars for visual interest:
- Photo Strips: Cut photos into strips and curl them like ribbon
- Memory Cards: Write memories on colored cardstock in different sizes
- Decoration Mix: Combine small photos with confetti, ribbons, or natural elements
- Time Capsule Jars: Have guests write predictions or wishes for the birthday person’s future
Place these jars at different heights using books or boxes covered in wrapping paper. Tie ribbons or balloons to jar necks for vertical interest. Guests will spend time exploring these personal touches, making them conversation starters as well as decorations.
Your Party, Your Way
Creating a memorable birthday celebration doesn’t require emptying your bank account. The decorations that guests remember most are those that show creativity and personal touches rather than price tags. By combining several of these budget-friendly ideas, you can create a layered, professional-looking party atmosphere that feels abundant and special.
The key to successful budget decorating lies in choosing two or three techniques to execute well rather than attempting everything halfway. Pick decorations that match your skill level and available time, then focus on making those elements shine. Your genuine effort and creativity will impress guests far more than store-bought perfection ever could. Start planning early, enlist help from friends or family, and remember that the joy of the celebration matters more than any decoration.
Frequently Asked Questions
Q: How far in advance should I start making DIY party decorations?
A: Begin crafting paper flowers, garlands, and other time-intensive decorations 2-3 weeks before your party. Save balloon inflation and fresh natural elements for the day before or morning of your event to ensure they look their best.
Q: What’s the most important area to focus decorations on when working with a tight budget?
A: Concentrate your efforts on the main focal points: the entrance, the cake/food table, and a photo backdrop area. These three zones get the most attention and photos, so investing your time and materials here creates maximum impact.
Q: Can I reuse these decorations for future parties?
A: Paper flowers, fabric garlands, string lights, and mason jar lanterns can definitely be saved for future events. Store paper decorations in pizza boxes to prevent crushing, and wrap lights carefully to prevent tangling.
Q: How do I make cheap decorations look expensive?
A: Stick to a cohesive color scheme using no more than three colors, group similar items together for impact, and pay attention to spacing and symmetry. Good lighting makes everything look better, so prioritize that over quantity of decorations.
Q: What’s the biggest mistake people make with budget party decorating?
A: Trying to fill every space with decorations, which creates a cluttered look. Instead, create a few statement pieces and leave breathing room between decorated areas for a more sophisticated appearance.
Q: How can I involve kids in making party decorations?
A: Children can help with paper chains, simple tissue paper flowers, painting rocks for displays, and arranging natural elements. Give them specific tasks within larger projects rather than expecting them to complete complex decorations alone.
Q: What basic supplies should I always have on hand for last-minute party decorating?
A: Keep white string lights, clear tape, scissors, fishing line, battery-operated candles, and an assortment of paper in neutral colors. These basics can quickly transform any space when unexpected celebrations arise.
Q: How do I hang decorations without damaging walls?
A: Use removable adhesive strips, painter’s tape for lightweight items, or hang decorations from curtain rods and existing fixtures. For heavier items, use over-the-door hooks or lean items against walls rather than hanging them.