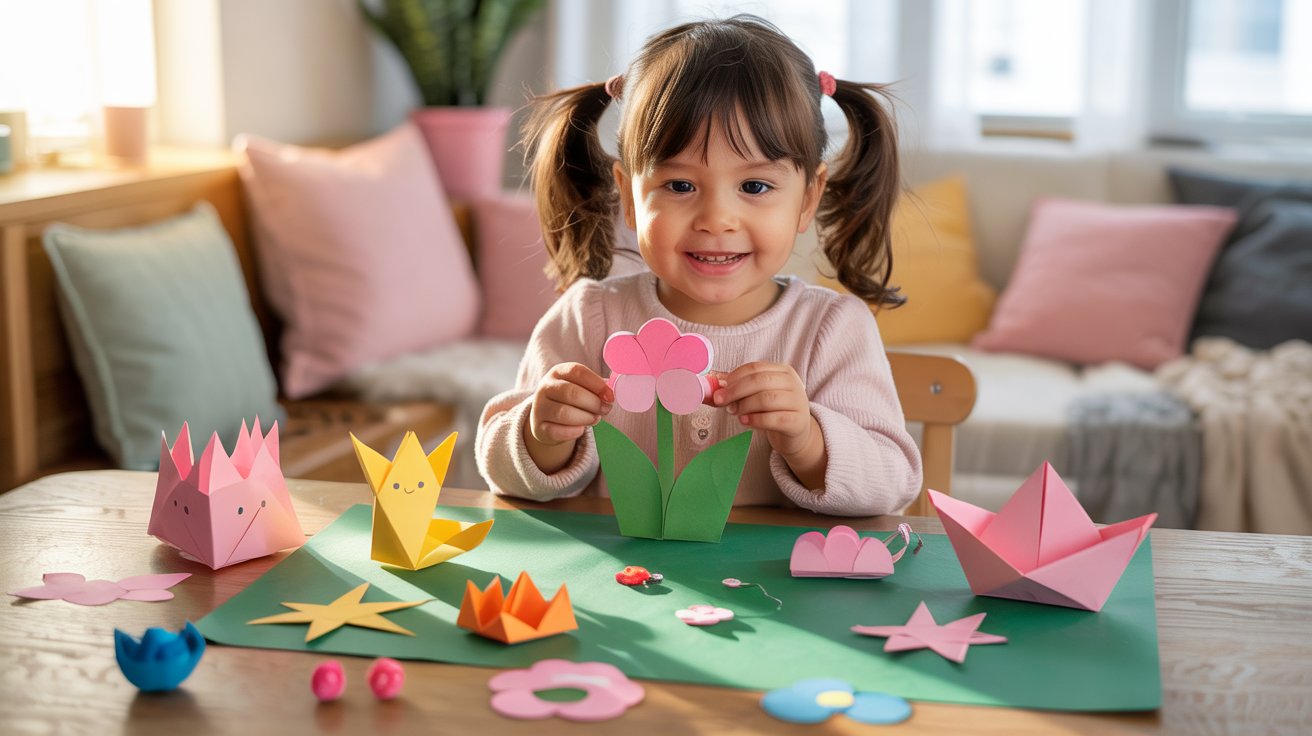
Paper crafts offer a world of fun and learning for kids. These simple yet engaging activities involve creating art and objects using paper as the primary material. They’re not just entertaining; paper crafts help children develop important skills while having a blast. From improving hand-eye coordination to boosting creativity, these projects provide a range of benefits for young minds.
Engaging in paper crafts enhances a child’s creativity and fine motor skills. As kids fold, cut, and glue paper, they exercise the small muscles in their hands and fingers, which is crucial for writing and other daily tasks. These activities also encourage imaginative thinking, allowing children to bring their ideas to life through colorful creations. Paper crafts can be a gateway to self-expression and artistic exploration for young ones.
Let’s share here eight easy paper crafts that will keep kids entertained for hours. These projects are simple to set up and require minimal materials, making them perfect for rainy days or quiet afternoons at home. From colorful paper chains to origami animals and paper plate art, these crafts offer a variety of options to spark your child’s imagination.
What materials do you need for these paper crafts?
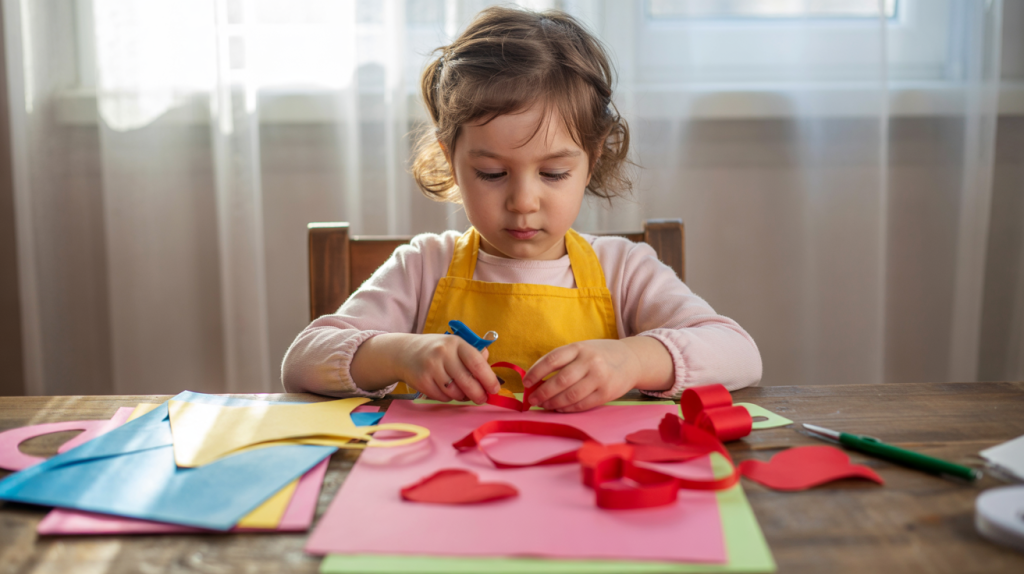
Paper crafts offer a world of creativity for children, allowing them to explore their imagination while developing fine motor skills. But what exactly do you need to get started? Let’s get into the essential materials for kid-friendly paper crafts.
First and foremost, you’ll need paper – but not just any paper will do. The type of paper you choose can make or break a craft project. For young children, construction paper is a staple. Its vibrant colors and sturdy texture make it perfect for cutting, folding, and gluing. Origami paper, with its thin, crisp feel, is ideal for intricate folding projects. And don’t forget about good old printer paper – it’s versatile and great for drawing or simple crafts.
But what about more specialized papers? Cardstock is thicker and more durable, making it excellent for greeting cards or 3D constructions. Tissue paper, on the other hand, is delicate and translucent, perfect for creating ethereal effects in collages or paper flowers.
Essential paper types for kid-friendly crafts
When stocking up on paper for your little artists, variety is key. Here’s a quick rundown of must-have paper types:
- Construction paper
- Origami paper
- Printer paper
- Cardstock
- Tissue paper
- Crepe paper
Each of these papers has its own unique properties, allowing for different textures and effects in crafts. Experimenting with various types can lead to exciting discoveries and new creative possibilities for your children.
Basic tools required for paper crafting
Now that we’ve covered paper, what about the tools to manipulate it? Safety should be your top priority when choosing crafting tools for kids. Child-safe scissors are a must-have – look for pairs with rounded tips and easy-grip handles. Glue sticks are less messy than liquid glue and perfect for younger children. For older kids, a small bottle of white craft glue can be useful for more complex projects.
Don’t forget about drawing tools! Crayons, colored pencils, and washable markers are all great options. These allow children to add color and detail to their paper creations. A ruler can be helpful for older kids working on more precise projects.
What about more specialized tools? A hole punch can be fun for creating confetti or adding decorative elements to crafts. And for 3D projects, a scoring tool (which can be as simple as an empty ballpoint pen) can help create crisp folds in thicker papers.
Safety considerations when crafting with children
Safety should always be at the forefront of your mind when crafting with kids. How can you ensure a safe crafting environment? Start by choosing non-toxic materials. This includes papers, glues, and coloring tools. Always read labels carefully before purchasing.
Supervision is key, especially with younger children. Be present to guide them in the proper use of tools and materials. Teach them good habits, like holding scissors correctly and not putting craft materials in their mouths.
What about the crafting space itself? Make sure it’s well-lit and free from clutter. A clean, organized space not only promotes safety but also encourages creativity. Consider using a washable tablecloth or mat to protect surfaces and make clean-up easier.
Where to find affordable craft supplies
Crafting doesn’t have to break the bank. Where can you find affordable supplies for your paper crafts? Dollar stores are often treasure troves of basic craft materials. They typically stock a variety of papers, glues, and simple tools at very low prices.
Online marketplaces can also be great resources for bulk purchases of craft supplies. Just be sure to read reviews and check shipping costs before ordering. Don’t overlook your local thrift stores either – they often have unused craft supplies at bargain prices.
Have you considered looking beyond traditional craft stores? Office supply stores often carry paper and basic tools at competitive prices. And during back-to-school season, many retailers offer deep discounts on art supplies.
Tips for organizing your crafting space
An organized crafting space can make the difference between a fun, creative session and a frustrating mess. How can you keep your supplies tidy and accessible? Start by sorting materials by type. Clear plastic containers or mason jars work well for storing small items like beads or buttons.
For paper storage, consider using a file organizer or magazine holders to keep different types separate and easy to access. Vertical storage solutions, like over-the-door organizers or pegboards, can maximize space in small areas.
Label everything clearly. This not only helps you find what you need quickly but also teaches children to put things back in their proper place. Consider using picture labels for younger children who can’t read yet.
Finally, make clean-up part of the crafting routine. Teach children to tidy up as they go and to properly store materials when they’re finished. This habit will make crafting more enjoyable for everyone and extend the life of your supplies.
How to make colorful paper chains
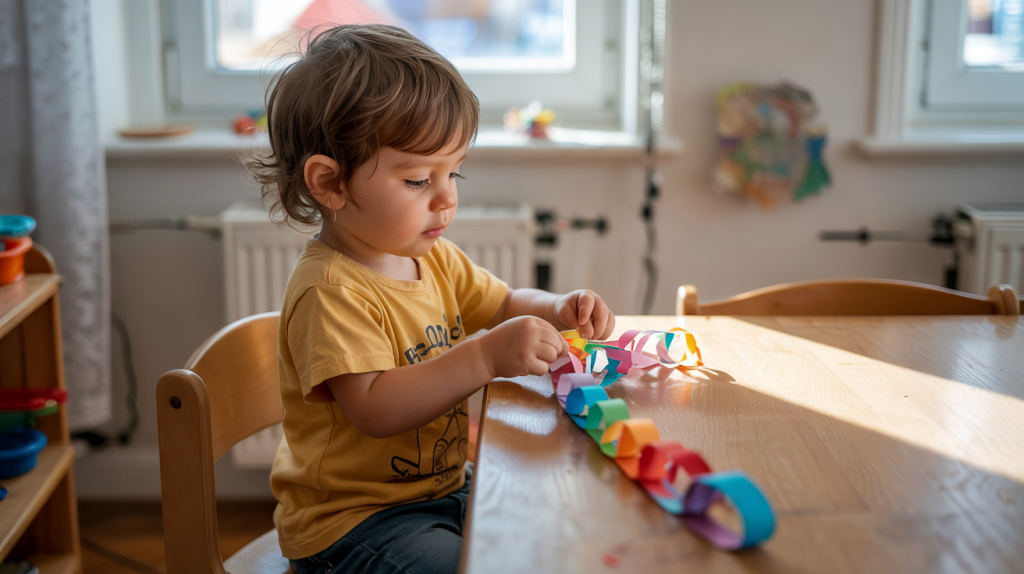
Colorful paper chains bring a splash of joy to any space, transforming ordinary rooms into festive wonderlands. This simple craft, beloved by children and adults alike, offers endless possibilities for creativity and decoration.
Step-by-step guide to creating paper chains
Begin your paper chain adventure by gathering your materials. You’ll need colorful paper, scissors, and adhesive – glue, tape, or a stapler will do the trick. Now, let’s break down the process:
- Cut your paper into strips. Aim for about 1 inch wide and 6-8 inches long, but feel free to experiment with different sizes.
- Form your first link by bending a strip into a circle and securing the ends together.
- Thread your next strip through the first loop before joining its ends.
- Continue this process, adding new links to your growing chain.
Sounds simple, right? The beauty of paper chains lies in their simplicity. But don’t let that fool you – the possibilities for creativity are vast.
Creative ways to use paper chains for decoration
Now that you’ve mastered the basics, how can you use your colorful creations? Paper chains are incredibly versatile decorations. Drape them across doorways to create a festive entrance. Wind them around banisters for a whimsical touch. Or create a colorful backdrop for photos by hanging chains vertically from the ceiling.
Have you considered using paper chains as gift wrap? Imagine presenting a small gift box encircled by a delicate paper chain – it’s an eco-friendly alternative to ribbon that adds a personal touch.
For a unique table centerpiece, create a paper chain “tree” by attaching chains of varying lengths to a central cardboard tube. The result? A conversation starter that doubles as a colorful decoration.
Variations on the classic paper chain design
Why stick to simple loops when you can push the boundaries of paper chain design? Here are some ideas to spark your creativity:
- Heart-shaped links: Fold your paper strip in half and cut a half-heart shape along the folded edge.
- Zigzag chains: Cut your strips with pinking shears for a jagged edge effect.
- 3D chains: Use two strips per link, crossing them at right angles for a fuller look.
- Origami links: Fold each strip into a simple origami shape before linking.
The key is to let your imagination run wild. What shapes can you incorporate into your chains?
How to involve multiple children in chain-making
Paper chains offer a fantastic opportunity for group crafting. To involve multiple children, try setting up a paper chain “assembly line.” Assign different tasks to each child based on their age and abilities:
- Younger children can select and sort colors.
- Those with developing scissor skills can cut the strips.
- Older kids can handle the folding and linking.
- Everyone can take turns adding their completed sections to the main chain.
This approach not only makes the process more efficient but also teaches teamwork and gives each child a sense of contribution to the final product.
Ideas for seasonal and themed paper chains
Paper chains can be adapted to any season or theme, making them perfect for year-round crafting. For spring, use pastel colors and incorporate flower shapes into your links. Summer chains might feature bright, bold hues and beach-themed cutouts like shells or sunglasses.
As autumn approaches, switch to warm oranges, reds, and browns, perhaps cutting your strips into leaf shapes. Winter chains can shimmer with metallic papers and snowflake designs.
But why stop at seasons? Create themed chains for birthdays (with number-shaped links), holidays (try mini jack-o’-lanterns for Halloween), or even to match your home decor. The only limit is your imagination.
Crafting paper chains offers more than just decoration – it’s an opportunity for creativity, bonding, and making memories. Whether you’re preparing for a party, entertaining children on a rainy day, or simply looking to add a personal touch to your space, paper chains provide an accessible and enjoyable crafting experience.
So grab some paper, gather your loved ones, and start linking! Who knows? You might just chain together some unforgettable moments along the way.
Can origami be easy for kids?
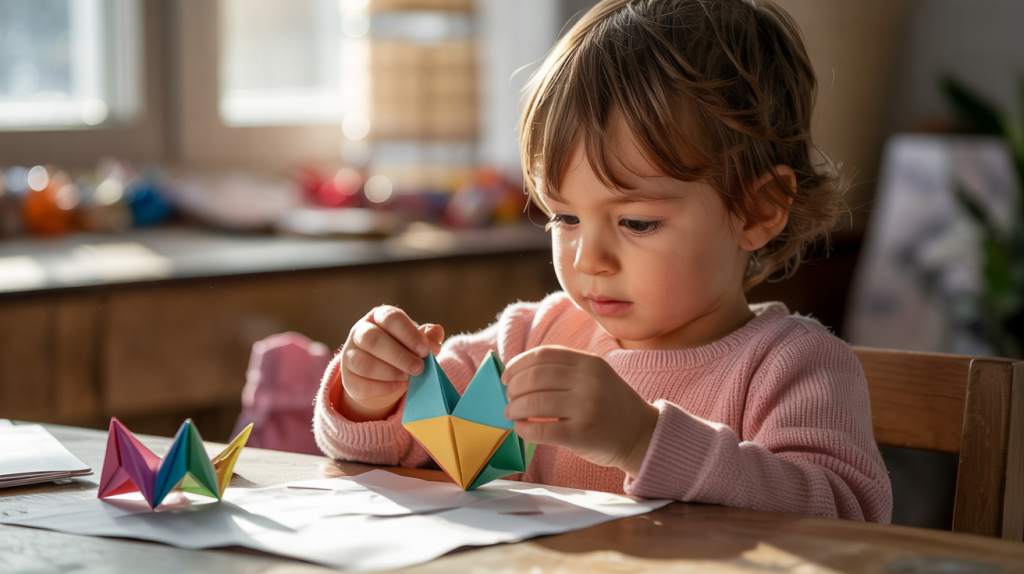
Origami, the Japanese art of paper folding, might seem complex at first glance. However, it can be surprisingly accessible for children. With the right approach and simple projects, kids can quickly grasp the basics and create charming paper creations.
Let’s see how origami can be made easy and enjoyable for young ones, starting with some beginner-friendly projects.
Simple origami projects perfect for beginners
For children just starting out, it’s best to begin with straightforward designs that require only a few folds. These projects can be completed quickly, giving kids a sense of accomplishment and encouraging them to try more.
Some ideal starter projects include:
- Paper airplanes
- Simple boats
- Basic flowers
- Easy animals like dogs or cats
These projects often use just a few basic folds and can be made with regular paper, making them perfect for spontaneous crafting sessions.
Techniques to teach basic origami folds to children
Teaching origami to kids is all about breaking down the process into manageable steps. Start by introducing the most fundamental folds:
- Valley fold: Folding the paper towards you
- Mountain fold: Folding the paper away from you
- Squash fold: A combination of folds that creates a flattened shape
Demonstrate each fold slowly, using clear language and visual aids. Encourage children to practice these basic folds before moving on to complete projects. This builds a strong foundation for more complex designs later on.
How origami improves concentration and patience
Origami isn’t just a fun activity – it’s also a great way to develop important skills. As children focus on following instructions and making precise folds, they naturally improve their concentration. The step-by-step nature of origami also teaches patience, as kids learn that rushing through the process often leads to mistakes.
To maximize these benefits, try setting up a calm, distraction-free area for origami sessions. Put on some soft background music and encourage children to take their time with each fold. Praise their efforts and remind them that practice makes perfect.
Fun animal shapes to create with origami
Once children have mastered the basics, they can move on to creating more exciting shapes. Animal designs are particularly popular with kids. Here are some animal-themed origami projects that children often enjoy:
- Jumping frogs
- Flapping birds
- Cute penguins
- Playful puppies
These projects are slightly more complex than the beginner ones but still achievable for most children. They often result in interactive toys, which adds an extra element of fun to the crafting process.
Incorporating origami into playtime activities
Origami doesn’t have to be a standalone activity. It can be seamlessly integrated into other aspects of a child’s playtime. For example, origami animals can become characters in imaginative play scenarios. Paper airplanes can be used for distance contests or target practice games.
You could also organize origami-themed parties or playdates. Set up different stations with instructions for various origami projects, and let children move between them at their own pace. This not only makes origami more social but also exposes kids to a wider range of designs.
Another idea is to use origami as part of storytelling. Create origami characters and use them to act out stories, encouraging children to both craft and create narratives.
What are some quick paper airplane designs?
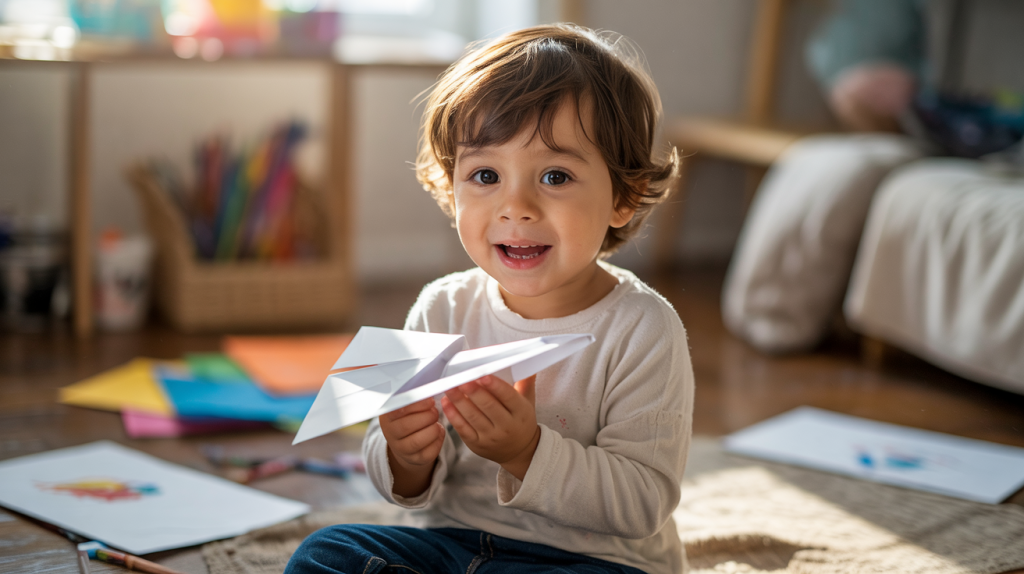
Paper airplanes offer a perfect blend of simplicity and fun. These flying marvels can be crafted in minutes, providing endless entertainment for children and adults alike.
The classic dart paper airplane: folding instructions
The dart is the quintessential paper airplane design. Its straightforward construction makes it ideal for beginners. To create this aerodynamic wonder:
- Start with a rectangular sheet of paper.
- Fold it in half lengthwise, then unfold.
- Bring the top corners down to the center crease.
- Fold the top edges to the center again.
- Fold the plane in half along the original crease.
- Create wings by folding down the top layer on both sides.
Voila! Your dart is ready for flight. But what if you’re looking for something with a bit more glide?
How to make a glider-style paper airplane
Gliders are known for their graceful, extended flights. To craft one:
- Begin with a rectangular paper sheet.
- Fold it in half horizontally, then unfold.
- Fold the top corners to the center line.
- Fold the top edge down to meet the bottom of those triangles.
- Fold the plane in half away from you.
- Fold wing flaps on each side, angling them slightly upward.
This design prioritizes lift over speed, resulting in longer, more stable flights. How can you turn these creations into a fun group activity?
Tips for hosting a paper airplane flying contest
Organizing a flying contest can spark creativity and friendly competition. Here are some pointers to make your event soar:
- Set clear categories: distance, hang time, and accuracy.
- Establish fair rules about paper size and additional materials.
- Create a safe flying zone with ample space.
- Use measuring tools for precise judging.
- Consider age groups to level the playing field.
A contest not only entertains but also teaches valuable lessons about aerodynamics and physics. Speaking of which, how can we make these planes uniquely ours?
Decorating ideas to personalize paper airplanes
Customizing your aircraft adds a personal touch and can even affect its performance. Consider these decoration techniques:
- Use colored paper for instant flair.
- Add racing stripes or patterns with markers.
- Create a logo or emblem for your “airline.”
- Experiment with lightweight stickers.
- Try watercolors for a artistic effect (but be mindful of paper warping).
Remember, while aesthetics are fun, they shouldn’t compromise your plane’s aerodynamics. This brings us to our final point – the educational value of these paper projectiles.
Science concepts kids can learn from paper airplanes
Paper airplanes serve as excellent tools for introducing scientific principles. They demonstrate:
- Aerodynamics: How air moves around objects.
- Gravity: The force pulling the plane downward.
- Lift: What keeps the plane aloft.
- Thrust: The forward motion created by throwing.
- Drag: Air resistance slowing the plane.
By adjusting designs and observing flight patterns, children can grasp these concepts through hands-on experimentation. Why not challenge them to predict how changes in design will affect flight?
Paper airplanes transcend mere toys, becoming gateways to understanding complex ideas. They prove that learning can be as simple as folding a sheet of paper and watching it glide through the air. So grab some paper, flex those creative muscles, and prepare for takeoff – adventure awaits just a fold away!
How to create paper plate art
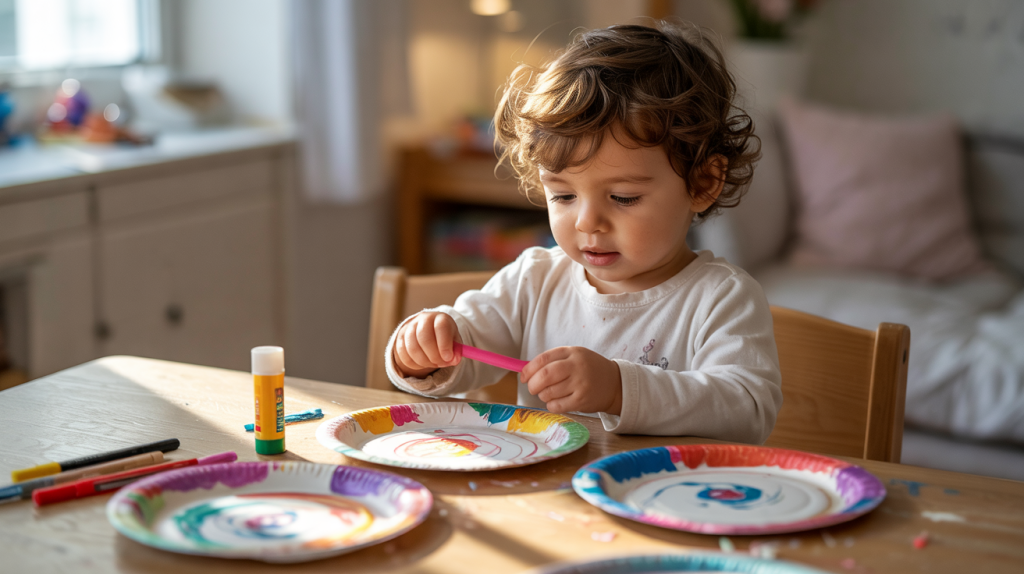
Paper plates are not just for serving snacks anymore. These versatile circular canvases offer a world of creative possibilities for children and adults alike. From whimsical animal masks to musical instruments, paper plates can transform into almost anything with a bit of imagination and some basic craft supplies.
Let’s explore how to turn these everyday items into works of art that will delight and entertain. Ready to unleash your inner artist? Grab a stack of paper plates and let’s get started!
Transforming paper plates into animal masks
Who needs expensive costume props when you have paper plates? Creating animal masks is a fun and easy way to spark imaginative play. Start by cutting eye holes in the plate. Then, let your creativity run wild! Add ears, noses, and whiskers using construction paper, pipe cleaners, or even leftover craft materials.
Want to make a lion? Cut strips of yellow or orange paper for the mane and glue them around the edge of the plate. For an elephant, attach a rolled-up piece of gray paper as the trunk. The possibilities are endless!
Making paper plate tambourines and other instruments
Who says you need expensive equipment to start a band? Paper plates can easily become musical instruments with a few simple additions. Here’s how to create a tambourine that’s music to your ears:
- Take two paper plates and place them face-to-face
- Staple around the edges, leaving a small opening
- Fill with dried beans or rice
- Staple the opening closed
- Decorate with paint, markers, or stickers
Shake your homemade tambourine and listen to the joyful sound it makes! But why stop there? Create a guitar by stretching rubber bands across an open paper plate. Or make a drum by leaving the plate whole and using pencils as drumsticks.
These DIY instruments are perfect for impromptu music sessions or even a full-fledged backyard concert. Plus, they’re a great way to introduce children to rhythm and sound in a hands-on way.
Using paper plates for seasonal craft projects
As the seasons change, so can your paper plate crafts. These versatile discs adapt beautifully to holiday-themed projects. In spring, transform them into blooming flowers or cheerful Easter bunnies. Summer calls for paper plate suns with bright yellow rays.
When autumn rolls around, paint your plates orange and add green stems to create a pumpkin patch. And winter? That’s the perfect time for paper plate snowmen or sparkling Christmas ornaments.
These seasonal crafts not only provide entertainment but also help children understand the changing world around them. They’re an excellent way to mark the passage of time and celebrate different holidays throughout the year.
Paper plate weaving activities for fine motor skills
Looking for a craft that’s both fun and educational? Paper plate weaving fits the bill perfectly. This activity helps develop fine motor skills and hand-eye coordination while resulting in a beautiful piece of art.
To start, cut evenly spaced slits around the edge of a paper plate, leaving the center intact. Then, using yarn or ribbon, weave in and out of the slits. As you work, the center of the plate will fill with a colorful pattern.
This craft requires concentration and patience, making it ideal for older children or as a group activity where adults can assist younger kids. The finished product can become a unique wall hanging or even a personalized gift.
Tips for painting and decorating paper plates
Now that we’ve covered some specific projects, let’s talk about general tips for making your paper plate crafts shine. First, consider your color palette. Bright, bold colors work well for kids’ projects, while softer hues can create more sophisticated designs for adults.
When painting, lay down newspaper or a disposable tablecloth to protect your work surface. Regular craft paint works well on paper plates, but you might need two coats for full coverage. Let each coat dry completely before adding details or additional layers.
Don’t limit yourself to just paint, though. Markers, crayons, and colored pencils all work well on paper plates. For added texture, try gluing on sequins, buttons, or even natural materials like leaves or flower petals.
Lastly, remember that paper plates have two sides. The ridged edge can add interesting texture to your design, while the flat bottom provides a smooth canvas. Try incorporating both sides into your creation for added depth and interest.
Crafting Memories: The Magic of Paper Creations
Paper crafts offer a world of possibilities for women looking to engage their children in creative, educational activities. From colorful paper chains to origami animals, paper airplanes to decorated plates, these simple projects can transform ordinary materials into extraordinary works of art. These activities not only provide entertainment but also help develop important skills like patience, concentration, and fine motor control.
As you explore these paper crafting ideas with the little ones in your life, remember that the process is just as important as the final product. Encourage experimentation, praise effort, and don’t worry about perfection. The time spent together, creating and learning, is what truly matters. So gather your supplies, clear a space at the kitchen table, and let your imagination take flight with these fun and accessible paper crafts.
Frequently Asked Questions
Q: What are some easy paper crafts for kids?
A: Easy paper crafts for kids include making colorful paper chains, simple origami projects, paper airplanes, and paper plate art.
Q: How can origami be made easy for children?
A: Origami can be made easy for children by starting with simple projects, teaching basic folds first, and using clear, step-by-step instructions.
Q: What materials are needed for paper plate art?
A: For paper plate art, you’ll need paper plates, paint, markers, glue, scissors, and decorative items like sequins or buttons.
Q: How can paper airplanes teach science concepts?
A: Paper airplanes can teach kids about aerodynamics, gravity, lift, thrust, and drag through hands-on experimentation with different designs.
Q: What are some creative ways to use paper chains?
A: Paper chains can be used as festive decorations, gift wrap alternatives, table centerpieces, or as part of themed crafts for different seasons and holidays.
Q: How does paper plate weaving help develop skills?
A: Paper plate weaving helps develop fine motor skills, hand-eye coordination, concentration, and patience in children.
Q: What types of musical instruments can be made from paper plates?
A: Paper plates can be transformed into simple musical instruments like tambourines, guitars, and drums.
Q: How can paper crafts be incorporated into seasonal activities?
A: Paper crafts can be adapted for different seasons by changing colors and themes, such as creating flower crafts in spring or snowmen in winter.

